Knitting for beginners, starting from nothing
Knitting for beginners comes down to four small moves and a single ball of yarn. You put a row of loops on a needle, you pull new loops through them, you do that until the fabric is long enough, and then you close the loops so it cannot come undone. That is the whole craft, repeated. The technique is not the hard part. The part that takes a little time is tension, the evenness of how you hold the yarn, and that arrives on its own once your hands stop thinking about it.
This is a complete starting guide for someone who has never held a pair of needles. By the end you will know exactly what to buy, the four foundation skills in the order to learn them, the two fabrics you will make first, your first real project, and the handful of mistakes nearly every beginner fixes early. If you want the wider picture first, our calm introduction to what is knitting covers where the craft comes from and how it differs from crochet.
We will keep it unhurried. The yarn is patient, and so is the learning.
What you need to start
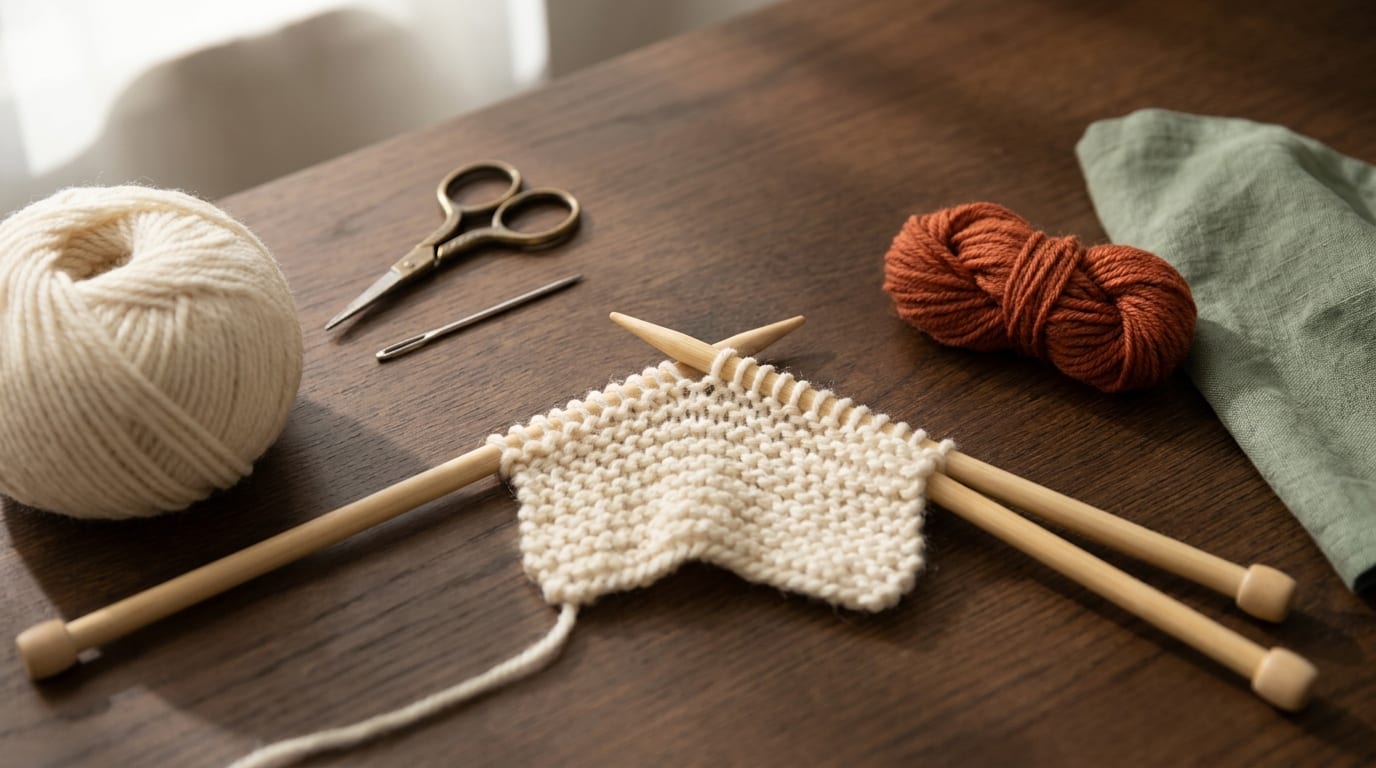
The supply list for knitting is genuinely short. You do not need a kit, and most starter kits pad themselves with a row counter, a case, and a dozen needle sizes you will not touch for months. Here is the honest version.
- One pair of needles, around 5.0 to 5.5 mm (US 8 to 9). This mid size is forgiving and pairs cleanly with the yarn below. Straight needles are the classic first choice, and they make flat knitting feel tidy. A circular needle works just as well for flat knitting if that is what you have, since you simply turn and work back across each row. Wood or bamboo grips the yarn a little, which slows runaway stitches, so it tends to be kinder for a first project than slick metal.
- One ball of worsted weight yarn (UK aran). Pick a smooth, light, solid color such as cream. Pale yarn makes each loop easy to see, and easy to see means easy to fix. Skip fuzzy yarn, skip black, and skip variegated yarn until your hands know the motion, because all three hide your stitches.
- A pair of scissors. Any small sharp pair you already own.
- A blunt tapestry needle. A large-eyed yarn needle for weaving in the loose tail when you finish. One needle, a dollar or two, done.
That is the entire list. A single ball of yarn and one pair of needles will carry you through your first few projects. For more on shapes, materials, and sizes, our guide to knitting needles lays out the options without the upsell.
The four foundation skills
Almost every knitting pattern is built from four moves. Learn these in order and the door to beginner and easy patterns is open. This section is the map. For the close-up, step-by-step how-to on the two stitches in the middle, follow the dedicated tutorials linked below.
1. The cast on
Casting on puts your first row of stitches onto the needle. It is the starting line for everything that follows. The long-tail cast on is the one most knitters settle into, because it makes a neat, slightly stretchy edge, but it asks you to manage two strands at once. The knitted cast on is the easiest to learn first: you make a slip knot, knit into it, and place the new loop back on the left needle, then repeat. Whichever you choose, keep it relaxed and even. A cast on worked too tight is the single most common reason a first scarf flares out at the bottom.
2. The knit stitch
The knit stitch is the heart of it. With the yarn held at the back, you slide the right needle up into the front of a loop, wrap the yarn around, draw a new loop through, and let the old one drop off the left needle. That is one knit stitch. Work it across every row and you get garter stitch, the friendliest fabric for a first project. For the full close-up walkthrough with photos, see our guide to the knit stitch.
3. The purl stitch
A purl is a knit stitch worked from the other direction. The yarn sits at the front, the needle enters the loop from a different angle, and the new loop is pushed through toward the back. Purl is not really a new skill so much as the mirror of the one you just learned. Alternate it with the knit stitch and you get the smooth fabric most sweaters are made of. The step-by-step lives on our guide to the purl stitch.
4. The bind off
Binding off (UK: casting off) closes the live loops so the fabric cannot unravel when it leaves the needles. The simplest version: knit two stitches, then lift the first one up and over the second and off the tip. Knit one more, lift the previous over it, and keep going to the end. Like the cast on, keep it loose. A tight bind off puckers the top edge of a scarf or chokes the neckline of a sweater.
Garter stitch and stockinette
Once you can knit and purl, you can make the two fabrics that nearly every beginner starts with. They are worth knowing by name, because patterns assume you do.
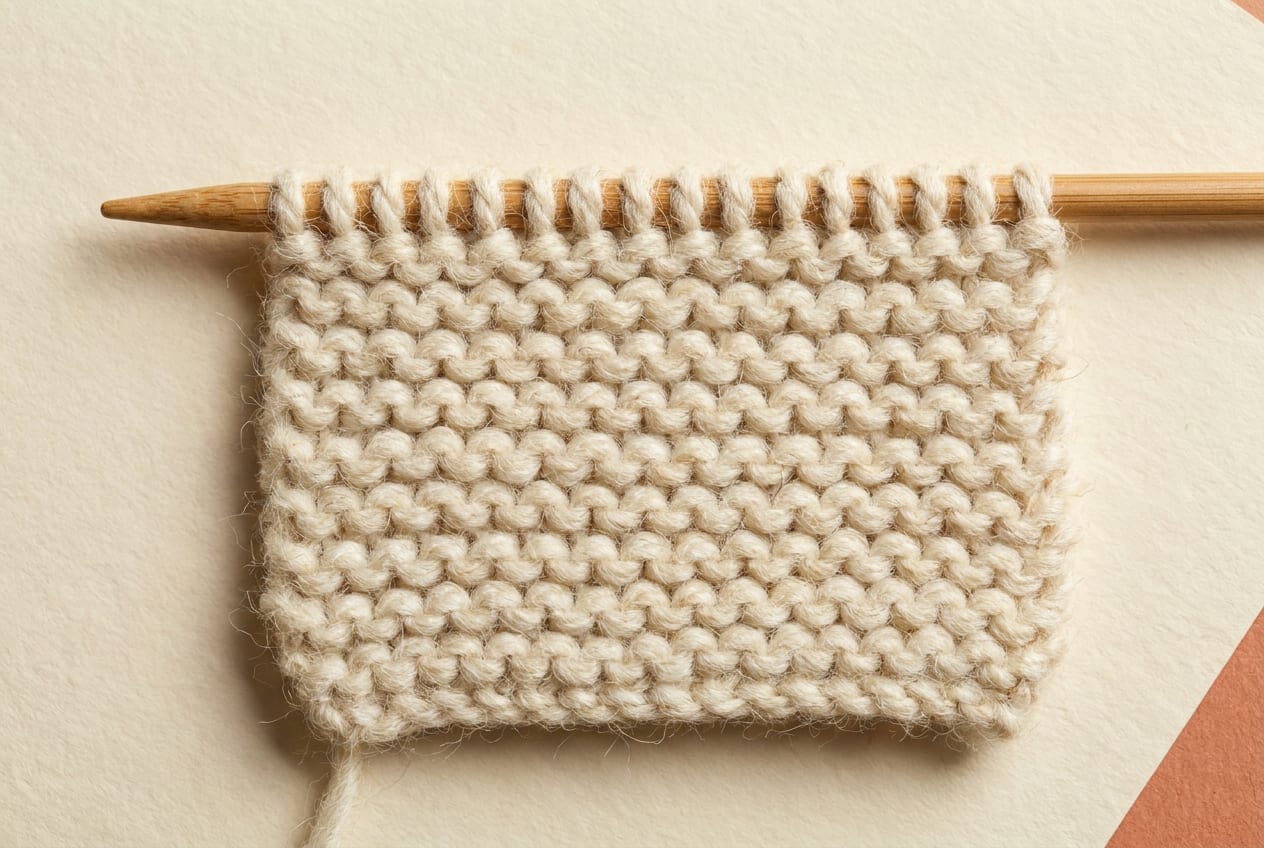
Garter stitch is the easiest fabric in knitting: you knit every row, on both sides, and that is all. It makes a squishy, reversible fabric with bumpy horizontal ridges, and its great gift to a beginner is that it lies completely flat. It does not curl, it does not need a fancy edge, and it forgives an uneven stitch or two. A garter-stitch scarf is the classic first project for exactly this reason.
Stockinette stitch (UK: stocking stitch) is the smooth, V-shaped fabric you see on most sweaters and socks. You make it by knitting one row, then purling the next, and repeating. The right side shows tidy columns of little V shapes, and the back shows the same horizontal bumps as garter. The one thing to know going in: stockinette curls at the edges by nature, the sides rolling toward the back and the top and bottom toward the front. That is normal and not a mistake. A few stitches of garter or ribbing along each edge keep it flat, and blocking a finished piece in natural fibers settles it down.
English versus Continental
There are two main ways to hold the working yarn, and both make exactly the same fabric. The difference is only in your hands, so pick whichever feels comfortable and do not worry that you have chosen wrong.
In the English style, you hold the yarn in your right hand and wrap it around the needle for each stitch, a motion often called "throwing." In the Continental style, you hold the yarn in your left hand and catch it with the needle tip, often called "picking." English tends to feel intuitive to brand-new knitters, while Continental can be quicker once it clicks, especially if you already crochet and your left hand knows how to tension yarn. Neither is better. For a side-by-side look at both, with tips on choosing, see our guide to continental vs english knitting.
Your first project
The right first project is small, repetitive, and finished before your enthusiasm fades. A garter-stitch scarf or a simple dishcloth is the honest answer, because both use only the skills you have just met: cast on, knit stitch, bind off. No purling required.
Here is the whole recipe. Cast on about 20 to 40 stitches in worsted weight yarn, depending on how wide you want it, then knit every single row until the piece is as long as you like. A dishcloth is done at roughly a square, around eight inches. A scarf wants something closer to sixty inches for an adult, which is a few evenings of calm, undemanding knitting. When it is long enough, bind off loosely, cut the yarn leaving a tail of several inches, and weave that tail in with your tapestry needle.
That single project drills the three skills that matter most: a relaxed cast on, an even knit stitch, and a tidy bind off. By the time you reach the end, your tension will have settled on its own, and the difference between your first rows and your last will be plain to see. When you want a next step, the continental vs english knitting guide is a good place to refine your hands before you take on a fitted pattern.
Reading a simple pattern and gauge
Patterns are written in shorthand that looks like a foreign language at first, but the language is small and it repeats. A typical beginner row might read:
Row 5: k1, p1; repeat from * to end. (24 sts)
In plain English: knit one stitch, purl one stitch, then repeat that pair across the whole row, which gives you ribbing. The number in parentheses is the stitch count, what you should have when the row is finished. Count it. If your number does not match, the mistake is in this row, not three rows back, and catching it now saves the whole piece. The first abbreviations you meet are short: k is knit, p is purl, and an asterisk marks a section to repeat. Find the abbreviation key near the top of any pattern, and confirm whether it is written in US or UK terms before you start.
Then there is gauge. Gauge is how many stitches and rows fit in a four-inch (10 cm) square at the pattern's recommended needle size, and it is the difference between a sweater that fits and one that does not. For anything shaped to the body, you knit a small swatch, measure it, and adjust your needle size until the numbers match: more stitches per inch than the pattern means your tension is tight, so go up a size, and fewer means loose, so go down. For a scarf or a dishcloth, gauge does not matter at all, because nothing has to fit. When you do need it, our gauge calculator does the math for you so a swatch never turns into guesswork.
Common mistakes and the fix
Almost every beginner hits these. Each has a clear fix once you can name what you are looking at.
Accidentally adding stitches
If your rectangle keeps getting wider, you are almost certainly adding stitches without meaning to. The two usual culprits are working into the gap between stitches at the start of a row, and an accidental yarn-over when the working yarn drifts over the needle between stitches. Both leave you with an extra loop and a slowly widening edge. The fix is to count your stitches at the end of every row, and to make sure the yarn sits at the back before a knit stitch and at the front before a purl, rather than draped over the top.
Splitting the yarn
Worsted yarn is made of several plies twisted together, and a needle tip can poke through one ply instead of going cleanly under the whole strand. The result is a fuzzy, split-looking stitch that feels stuck. The fix is mostly to slow down and aim the needle tip under all the plies at once. Smooth, plied yarn and a needle with a gently rounded tip rather than a very sharp one both make splitting far less likely while you are learning.
Dropping a stitch off the needle
A dropped stitch happens when a loop slides off the end of the needle and starts working its way down the rows like a ladder in a stocking. It looks alarming and it is the most common beginner panic. The fix is a small crochet hook: catch the loose loop, then pull each rung of the ladder back up through it, one row at a time, until the stitch is back on the needle. Catching it early means one rung to fix instead of ten, so count often and stop the moment something looks loose.
Knitting too tightly
If you can barely force the needle tip into your stitches to work the next row, you are knitting too tight, which is the most common beginner habit by far. Tight stitches make every row a fight and pull the fabric in. The fix is partly to relax your grip and partly mechanical: try going up a needle size, and let the new loop slide a little higher on the right needle before you tighten it. Your hands ease off naturally with practice, so this one fixes itself faster than you expect.
Where to go after your first scarf
Once the four basics feel steady, the next skills add shaping and polish. A clean knit decrease (ssk) and its purl-side partner slip slip purl (ssp) shape necklines and armholes, the m1l and m1r increases widen a piece almost invisibly, kitchener stitch grafts two sets of live stitches with no seam, and a full bust adjustment makes a sweater fit a real body. None of these are urgent. They are simply the natural path once your first scarf is off the needles.
Frequently asked questions
Is knitting hard to learn for a complete beginner?
No. Knitting for beginners is really four small moves repeated, and most people work a few rows in their first sitting. The genuinely tricky part is even tension, and that improves on its own with a couple of projects rather than any special talent. Light yarn and mid-size needles make the start easier.
What yarn and needles should a beginner buy?
A pair of wooden needles around 5.0 to 5.5 mm (US 8 to 9) and one ball of smooth, light-colored worsted weight (UK aran) yarn. Wood grips the yarn slightly so stitches are less likely to slide off, and pale solid yarn makes each loop easy to see, which makes mistakes easy to catch and fix.
What is the easiest thing to knit first?
A garter-stitch scarf or a dishcloth. You cast on about 20 to 40 stitches, knit every row until it is long enough, then bind off. There is no purling and no shaping, so it drills the cast on, the knit stitch, and the bind off while giving you a useful finished object instead of a throwaway swatch.
What is the difference between garter stitch and stockinette?
Garter stitch is knit on every row. It is squishy, reversible, and lies flat, which makes it the easiest fabric for a first project. Stockinette alternates a knit row with a purl row to make the smooth V-shaped fabric on most sweaters, but it curls at the edges by nature, so it needs a border or blocking.
Should I learn English or Continental knitting?
Either, since both make the exact same fabric. English holds the yarn in the right hand and throws it around the needle, which many new knitters find intuitive. Continental holds the yarn in the left hand and picks it, which can be faster and suits people who already crochet. Try both and keep the one your hands prefer.
Why does my knitting keep getting wider?
You are adding stitches without meaning to, usually from an accidental yarn-over or from working into the gap at the start of a row. Both leave an extra loop on the next row. Count your stitches at the end of every row, and keep the yarn at the back for knits and the front for purls so it does not drift over the needle.