What casting on actually does
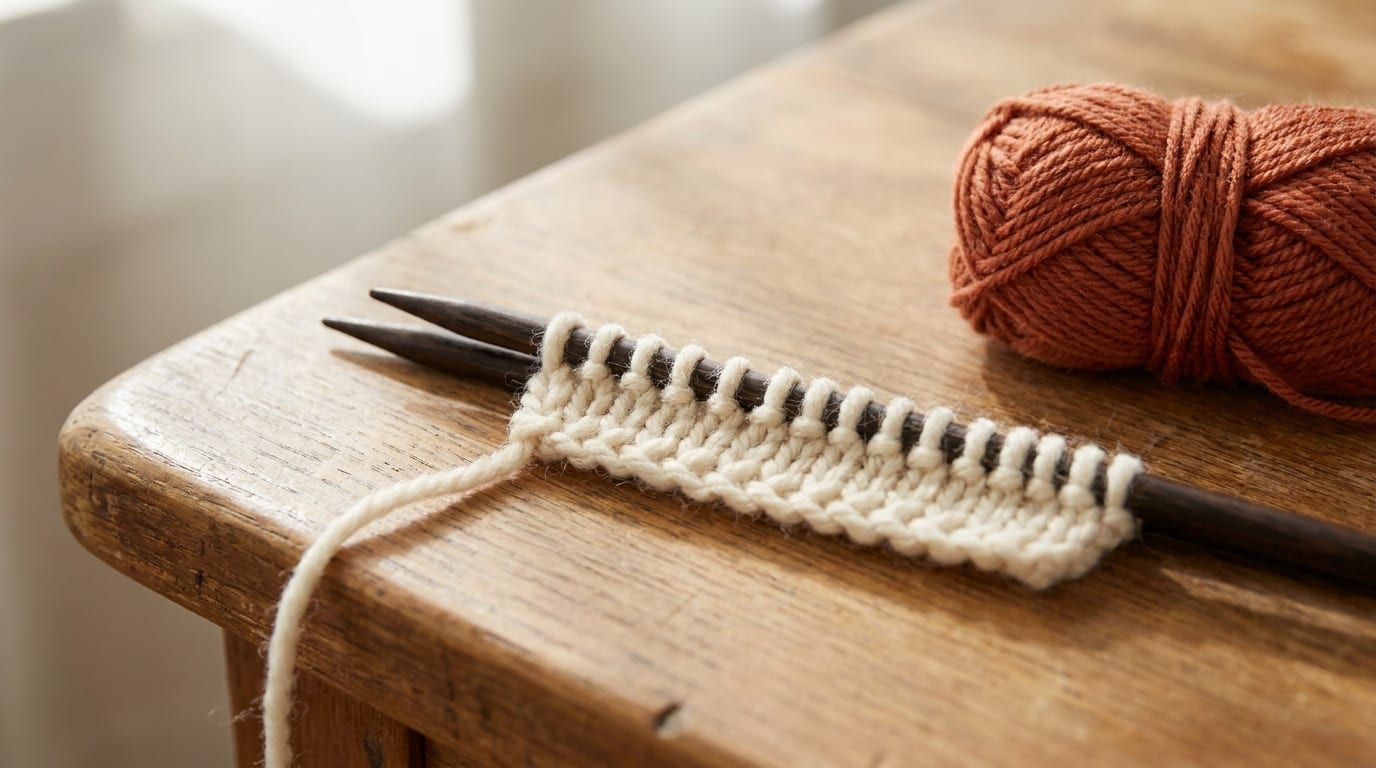
Before you can knit a single row, you need loops on your needle. Those loops are your foundation, and the process of getting them there is called casting on. Think of it as drawing the bottom line before you start writing.
The cast on you choose affects how the bottom edge of your knitting looks and how stretchy it is. Scarves, hats, and socks each behave better with different cast ons, but you only need to know three to cover almost every situation you will encounter as a beginner.
If you are brand new to knitting, you may want to read the knitting for beginners guide first. Once you have cast on, the knit stitch is the natural next step.
The slip knot: your starting point
Every cast on begins with a slip knot. It is the anchor that keeps everything on the needle.
Leave the tail length you calculated, then make a loop by crossing the working yarn (the yarn attached to your ball) over the tail. Pinch the crossing point, reach through the loop, and pull the working yarn up through it. You now have a loop with a loop inside. Place that inner loop on your needle and pull both ends gently until the knot sits snug but still slides along the needle. That is your first stitch.
Method 1: Long-tail cast on (most useful)
The long-tail cast on is the one most experienced knitters reach for automatically. It creates a tidy, moderately stretchy edge and works fast once the hand position feels natural. It uses two strands at once, which is why the tail needs to be long.
Follow these six steps:
- Make a slip knot and hold the yarn in slingshot position. Drape the tail over your left thumb and the working yarn over your left index finger. Hold both strands in your left palm.
- Open the slingshot. Spread your thumb and finger apart so the two strands form a V.
- Scoop under the thumb loop. Bring the needle down and under the loop around your thumb, entering from below.
- Catch the index-finger yarn. Swing the needle tip over to the yarn on your index finger and pull it back through the thumb loop.
- Slide the thumb loop off and tighten. Let the loop slip off your thumb, re-drape the tail to form a new slingshot, and snug the new stitch onto the needle.
- Repeat steps 3 through 5 until you reach your stitch count.
The motion becomes rhythmic quickly. Most beginners find it awkward for the first ten stitches and then it clicks.
Method 2: Knitted cast on (easiest for beginners)
The knitted cast on uses the same motion as a knit stitch, so if you already know how to knit you can do this immediately. It produces a soft, slightly loose edge that works well for projects where the cast-on edge is not under stress.
Start with a slip knot on your left needle.
- Insert the right needle into the slip knot as if to knit.
- Wrap the working yarn around the right needle and pull a loop through, just like a knit stitch, but do not slide the stitch off the left needle.
- Place the new loop you just made back onto the left needle by inserting the left needle tip into it from left to right.
- Tighten gently. You now have two stitches.
- Repeat: insert the right needle into the last stitch on the left needle, knit a loop, place it back. Continue until you have the right number.
The knitted cast on is the slowest of the three, but it is forgiving and easy to put down and pick back up without losing your place.
Method 3: Cable cast on (firm edge for ribbing)
The cable cast on is almost identical to the knitted cast on, with one difference: after the first two stitches, you insert your needle between the last two stitches on the left needle instead of into the last stitch. This creates a firmer, more structured edge that holds its shape well. It is a good choice for the start of ribbing on cuffs, necklines, or hat brims.
- Cast on two stitches using the knitted cast on method above.
- Insert the right needle between the first and second stitches on the left needle (not into the last stitch).
- Wrap the working yarn and pull a loop through.
- Place the new loop back on the left needle.
- Repeat step 2 onward until you have the right number.
The edge this produces is tighter and crisper than the knitted cast on. If you find it too tight, try going up one needle size just for the cast-on row.
How to count your cast-on stitches
Each V-shaped loop sitting on the needle is one stitch. The slip knot counts as the first stitch. Count slowly from left to right, touching each loop as you go. If you are casting on more than 30 stitches, place a stitch marker every 10 stitches as you go so you do not lose count.
If you are not sure whether the slip knot counts in your pattern, it almost always does. Most patterns assume the slip knot is stitch one unless stated otherwise.
What to do if your count is wrong
Too many stitches: slide the extra ones off the needle from the right end. Each loop will simply unravel. Then recount.
Too few stitches: with the knitted cast on or cable cast on you can add the missing stitches right now by continuing from where you stopped. With the long-tail cast on it is easier to start over, because the tail has likely been used up. Starting over takes about two minutes and is far less stressful than trying to patch a short cast on later in the project.
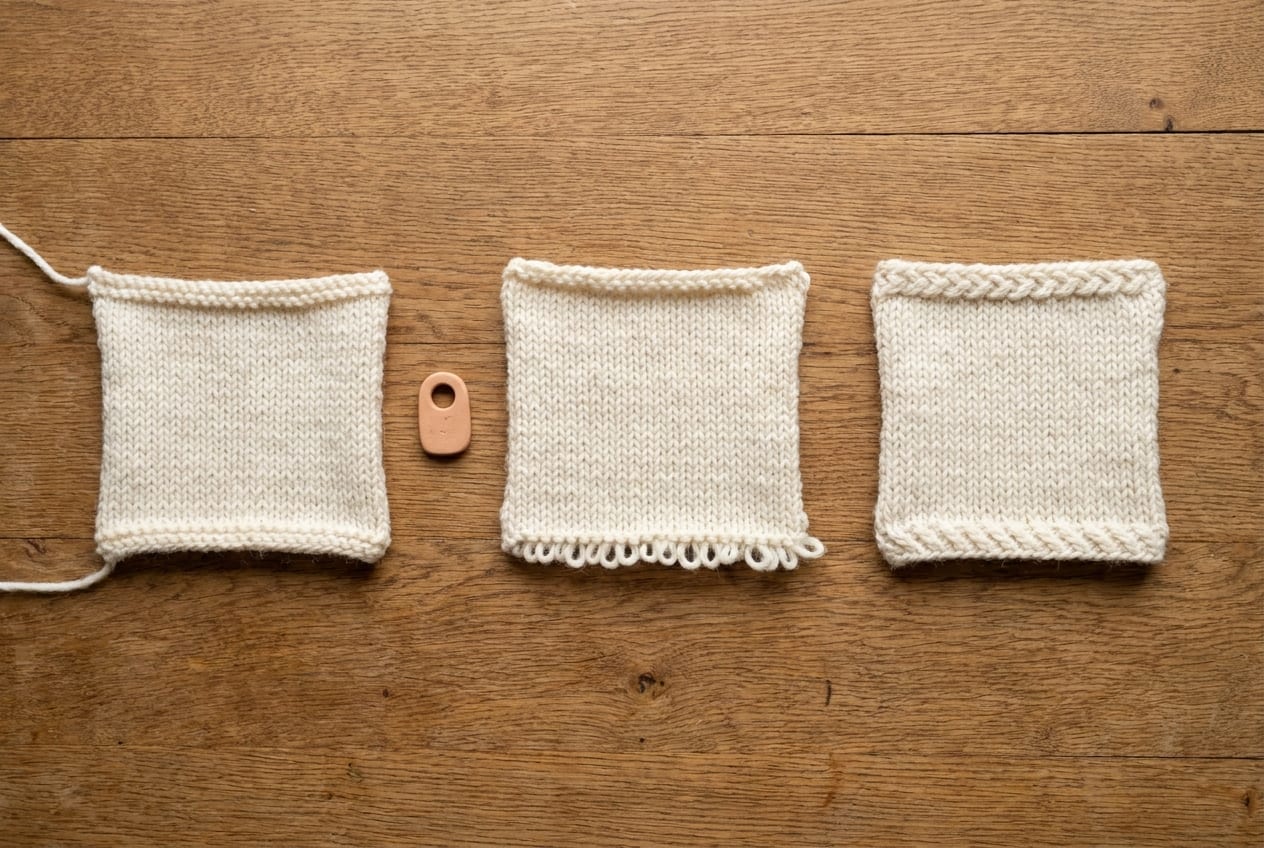
Choosing the right cast on
For most beginner projects -- scarves, dishcloths, simple hats -- the long-tail cast on gives the best result. It is stretchy enough for most uses and produces a tidy edge. Once you can do it without looking down, you will use it almost every time.
Use the knitted cast on when you need to add stitches mid-project or when you simply want a method that reuses muscle memory from the knit stitch itself.
Reach for the cable cast on whenever a pattern calls for a firm, stable edge, particularly at the start of ribbing or on a button band.
The knit stitch is everything after this. Cast on a few extra practice stitches and start knitting the moment this feels comfortable.
Frequently asked questions
Can I cast on with the needle I will use for the project? Yes. Use your project needle. Some knitters go up one needle size for casting on to keep the edge loose enough, but this is optional and only matters if your cast-on edge regularly comes out too tight.
Why does my cast-on edge curl? A curling bottom edge is usually stockinette behaving normally, not a casting-on problem. Stockinette curls because the knit side and purl side have different tension. Starting with a few rows of garter stitch (knit every row) or ribbing will anchor the edge flat.
What is the difference between casting on and a slip knot? The slip knot is the very first loop on the needle. Casting on is the whole process of adding all the loops you need. Every cast on starts with a slip knot and then builds the rest of the foundation stitches from there.