The seam that disappears
The Kitchener stitch is how you join two sets of live stitches so the join looks like a continuous row of knitting, with no ridge, no bump, no visible seam. It is the magic at the toe of a sock and the top of a shoulder. It also has a reputation for being scary, mostly because the instructions are a string of "knit, purl, slip, leave on" that makes no sense until your hands do it once.
Here is the secret: the Kitchener stitch is a short rhythm of four moves, repeated. Once the rhythm clicks, you can graft a sock toe in two minutes without thinking. This guide gives you the setup, the four-step rhythm with a mnemonic, and the fixes for the loose or uneven graft that beginners get the first time.
New to knitting in general? Start with our calm introduction to knitting. Comfortable with decreases already? The Kitchener is a finishing skill that pairs well with clean SSK decreases on a sock or shoulder.
Before you start
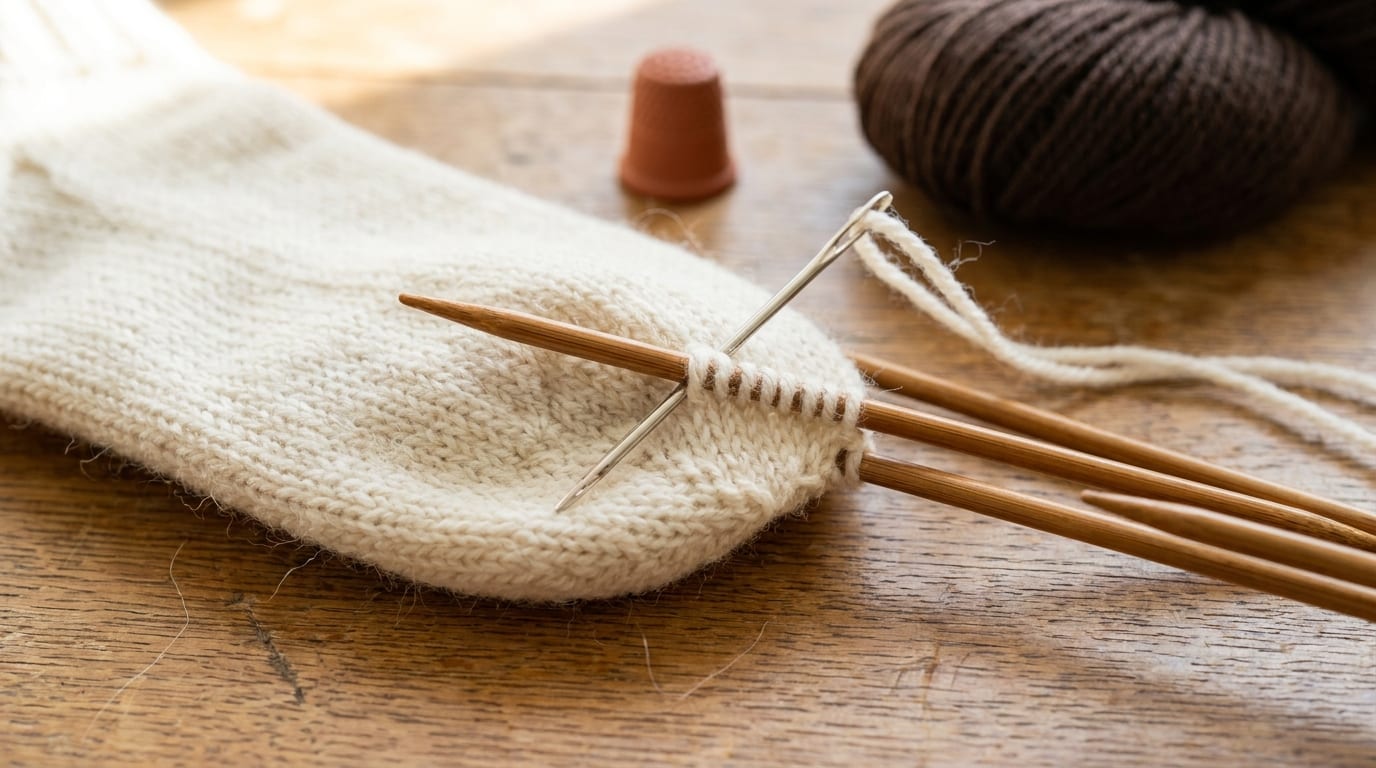
You need two needles holding the same number of live stitches, held parallel with the wrong sides together and the points facing the same direction (usually to the right). Leave a yarn tail about three to four times the width of the join, and thread it onto a blunt tapestry needle.
Hold the work so one needle is in front and one is behind. From here on, "front needle" and "back needle" mean exactly that.
The setup
Do these two moves once, at the very beginning, to seat the yarn correctly.
- Bring the tapestry needle through the first stitch on the front needle as if to purl, and leave that stitch on the needle.
- Bring the tapestry needle through the first stitch on the back needle as if to knit, and leave that stitch on the needle.
The four-step rhythm
Now repeat these four steps across the whole join. This is the entire Kitchener stitch.
- Front, knit off. Go through the first front stitch as if to knit, and slip it off the needle.
- Front, purl on. Go through the new first front stitch as if to purl, and leave it on the needle.
- Back, purl off. Go through the first back stitch as if to purl, and slip it off the needle.
- Back, knit on. Go through the new first back stitch as if to knit, and leave it on the needle.
The mnemonic most knitters keep in their head is "knit off, purl on" for the front needle, and "purl off, knit on" for the back needle. Say it out loud the first few times.
Keep repeating the four steps until one stitch remains on each needle. To finish, knit off the front stitch and purl off the back stitch, then run the tail to the inside and weave it in.
Getting the tension right
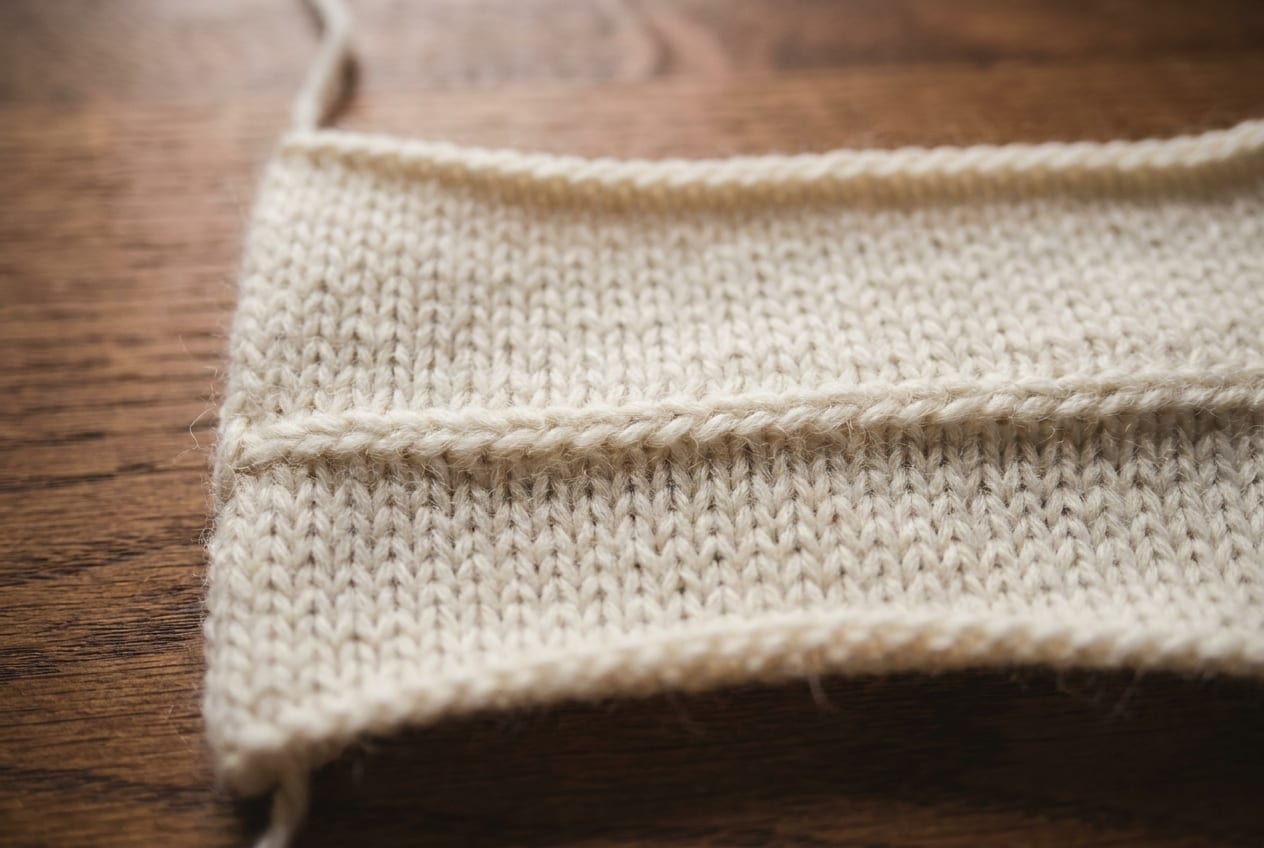
The single thing that makes a Kitchener graft look professional is even tension. As you work, the grafted stitches will look loose and floppy, which is normal. After every few stitches, use the tapestry needle tip to gently snug each grafted loop to match the size of the knitted stitches around it. Do not pull hard, just coax them to the same gauge. If you tension as you go, the final row sits at exactly the same size as the rest of the fabric and the join vanishes.
Three common Kitchener mistakes
Losing your place in the rhythm
If you put the work down mid-graft, you may forget which step you were on. The fix: always stop after step 4 (back, knit on), so you restart cleanly at step 1. A row counter or a sticky note with the four steps helps for long grafts.
Grafting too tight or too loose
Too tight puckers the join, too loose leaves a baggy line. Tension each stitch to match its neighbors as you go, rather than trying to fix the whole row at the end.
Skipping the setup
The two setup moves seat the yarn so the first real stitches sit correctly. Skip them and the start of your graft looks off. Always do the purl-then-knit setup first.
Frequently asked questions
What is the Kitchener stitch used for?
The Kitchener stitch grafts two sets of live stitches into an invisible seam. It is most often used to close the toe of a sock, join shoulder seams, finish the tips of mittens, and graft the top of a hood, anywhere a smooth, ridge-free join matters.
Why is it called the Kitchener stitch?
It is widely attributed to Lord Kitchener, who promoted knitting for soldiers during the First World War. Seamless sock toes were more comfortable inside boots, and the grafting method became associated with his name. It is also simply called grafting.
What is the rhythm of the Kitchener stitch?
After a two-step setup, you repeat four moves: front needle knit off, front needle purl on, back needle purl off, back needle knit on. The mnemonic is knit off, purl on for the front, and purl off, knit on for the back. Repeat until one stitch remains on each needle.
How do I keep my Kitchener graft from looking loose?
Tension as you go. The grafted stitches look floppy at first, which is normal. Every few stitches, use the tapestry needle to gently snug each grafted loop to match the size of the surrounding knit stitches. Do not pull hard, just even them out.
Can I graft without the Kitchener stitch?
Yes. A three-needle bind-off also joins two sets of live stitches, but it leaves a small ridge, so it suits shoulders more than sock toes. The Kitchener stitch is the choice when you want the join to be invisible.
Pinterest pin headlines (internal reference, strip before publish)
- A: "Kitchener Stitch: The Invisible Graft, Demystified"
- B: "Close a Sock Toe With No Visible Seam"
- C: "The 4-Step Rhythm Behind Grafting"