The one stitch all of knitting starts from
The knit stitch is the first thing you learn and the move you will make more than any other. It is one of the two stitches that all of knitting is built from, and it is the friendlier of the pair to start with. Once your hands know it, you can already make a real piece of fabric, a scarf, a dishcloth, a blanket, without learning anything else first.
The motion has four small parts, and it feels clumsy for the first dozen or so. Then it turns automatic, the way tying a shoelace did. This guide walks through the knit stitch step by step, shows the two fabrics it makes on its own (garter and stockinette), and clears up the handful of mistakes that trip up almost every beginner.
If you are completely new to the craft, our calm introduction to what is knitting covers casting on first, which is the step that puts your starting row onto the needle. Come back here once you have a cast-on row ready to work.
What is the knit stitch?
The knit stitch is a new loop pulled through an existing loop, with the old loop dropped off afterward so the new one takes its place on the working needle. Worked across a full row and then row after row, those interlocking loops become a stretchy fabric. Every stitch holds the one below it.
The knit stitch and the purl stitch are the same action seen from opposite sides. When you knit, you pull the loop toward you and the yarn sits at the back. When you purl, you push the loop away and the yarn sits in front. That is the only real difference between them, which is why people say if you can knit, you are halfway to everything.
The knit stitch goes by the same name in the US and the UK, so there is no translation to worry about here. (One term that does differ comes later: binding off, the step that closes your stitches at the end, is called casting off in the UK.) US and UK patterns both write the knit stitch as k.
What you need
You can work the knit stitch with very little. The short list:
- A pair of straight needles, US 8 (5.0 mm). This middle size is forgiving and pairs cleanly with common beginner yarn. Wooden or bamboo needles grip the yarn a little, which slows runaway stitches, so they are kinder for a first try than slick metal. A guide to knitting needles covers the other sizes and materials once you are ready to branch out.
- One ball of smooth worsted weight yarn in a pale, solid color. Cream is ideal. Light yarn makes each loop easy to see, and easy to see means easy to fix. Skip fuzzy and variegated yarn until your hands know the motion.
- A cast-on row already on one needle. Around 20 stitches is a comfortable practice width. If you have not cast on yet, do that first, then begin.
That is the whole kit. No counter, no case, no twelve needle sizes. You can be knitting within a few minutes of the yarn coming out of its band.
How to knit step by step
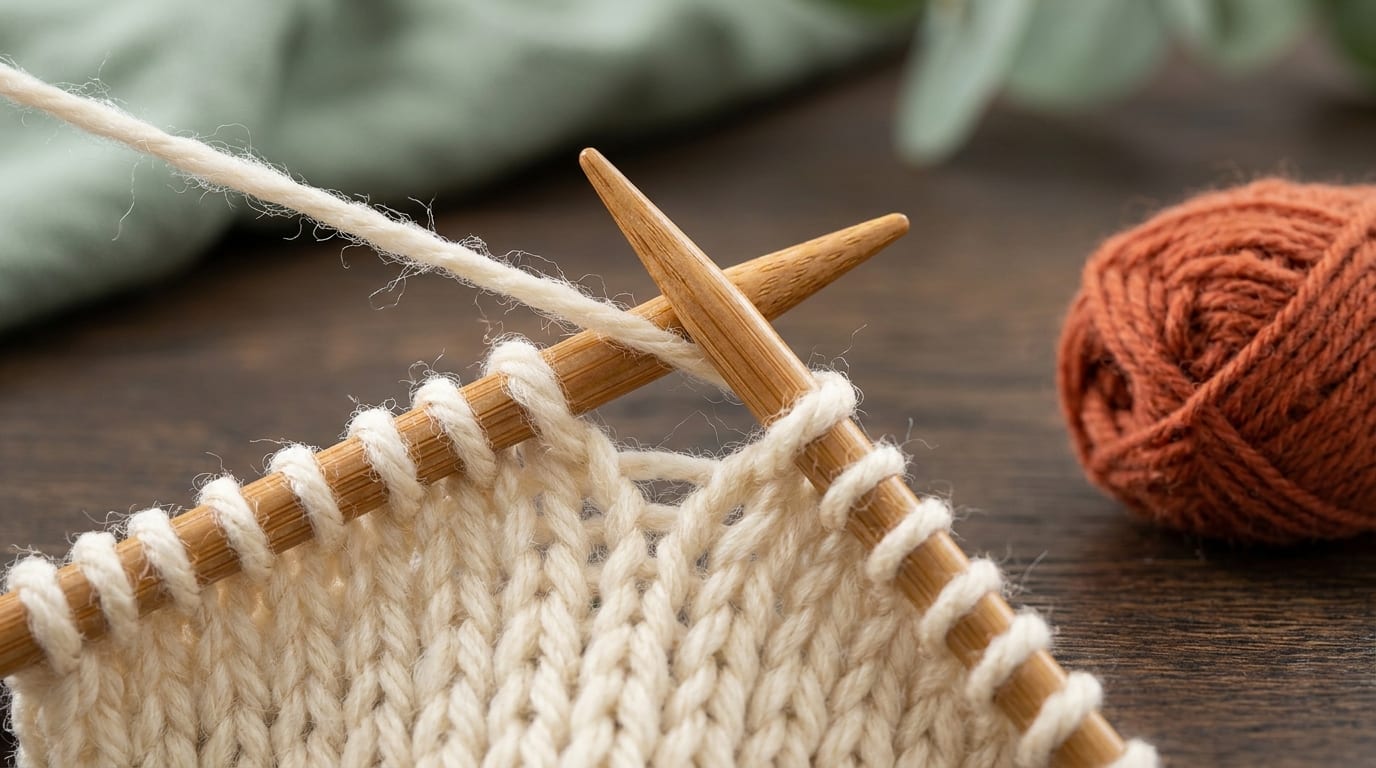
Hold the needle with your cast-on stitches in your left hand and the empty needle in your right. Check that your working yarn is hanging at the back of the work, not draped over the front. The steps below describe the English method, sometimes called throwing, where the right hand carries and wraps the yarn. (In the continental method the left hand holds the yarn and the needle tip "picks" it instead, but the path the loop travels is identical. Our comparison of continental vs English knitting covers when each one shines.)
- Insert the right needle into the front of the first stitch on the left needle, going from left to right and from front to back, so the right needle ends up sitting behind the left one. The two needles form an X with the right needle behind.
- Wrap, or throw, the working yarn counterclockwise around the tip of the right needle, bringing it up between the two needles.
- Bring the right needle tip down and toward you, catching that wrapped strand and drawing the new loop through the old stitch to the front of the work.
- Slip the old stitch off the left needle. The new stitch now sits on the right needle. That is one knit stitch.
Repeat across the row. When every stitch has moved over to the right needle, the row is done. Swap the needles between your hands, so the full needle is back in your left, and start the next row the same way.
A steady rhythm matters more than speed. In, wrap, through, off. Say it under your breath for the first row or two if it helps the order stick.
Garter stitch
Garter stitch is the first fabric you can make, and it is the easiest one in all of knitting: you knit every stitch of every row. Nothing else. No purling, no counting a pattern, just the same move over and over.
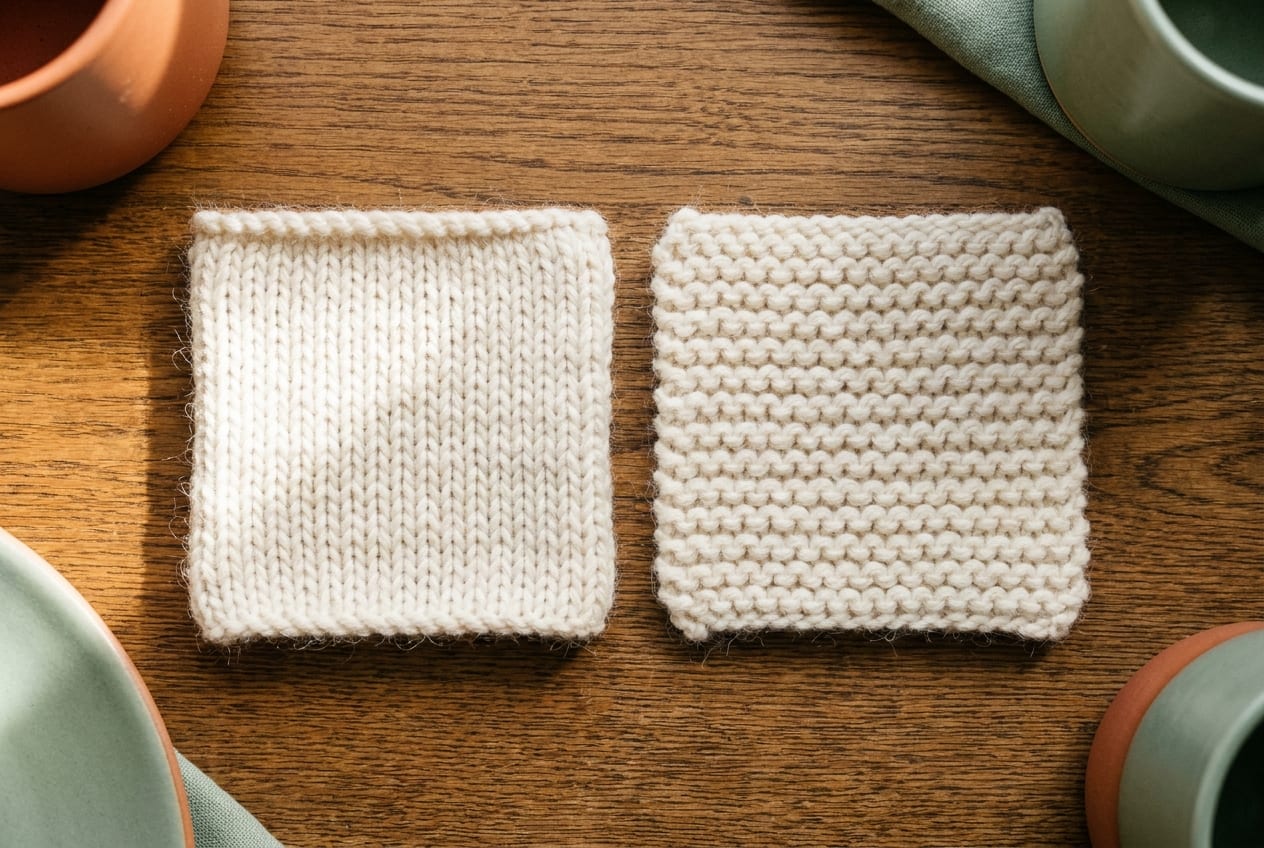
The result is a reversible, squishy fabric of horizontal ridges, where each ridge is two rows of knitting. It looks the same on both sides, which means there is no right or wrong side to track. For a beginner, the real gift is that garter lies completely flat and does not curl, so a garter scarf or dishcloth behaves itself from the very first row. It is the perfect first project for hands that are still learning the motion, and a good fit for the small makes in our knitting for beginners guide.
Stockinette stitch
Stockinette stitch is the smooth, V-patterned fabric most people picture when they think of a knitted sweater. To make it flat, you knit all the stitches on the right-side rows and purl all the stitches on the wrong-side rows, alternating the two. (UK patterns call this stocking stitch.)
The front, or public side, shows neat columns of little "V" shapes. The back is a field of horizontal bumps. Stockinette uses both halves of knitting, so it is the natural next step after you add the purl stitch to your knit stitch.
One thing to expect: stockinette curls at the edges by nature, the sides rolling toward the back and the top and bottom toward the front. This is not a mistake. It happens because the front and back of the fabric pull differently. To keep a stockinette piece flat, add a border of a few garter or ribbing stitches along each edge, or block the finished piece by wetting it and pinning it flat to dry.
How to read knit vs purl in your fabric
Once you can knit, you can learn to read your knitting, which saves you from counting rows over and over and lets you catch a slip before it travels. The two stitches each leave a clear mark on the side facing you.
A knit stitch looks like a flat, smooth "V" sitting just below the needle. A purl stitch looks like a small horizontal bump, like a little dash lying across the work. In stockinette, the side covered in Vs is the right side and the bumpy side is the wrong side. In garter, both sides read as rows of bumps, because the knit Vs on the back rows tuck behind the purl-looking ridges.
Learning to spot the difference means you can glance at your work and know whether the row in progress is a knit row or a purl row, and notice a stitch worked the wrong way before it climbs up the fabric. If you want to compare the marks side by side, the purl stitch tutorial shows the bump up close.
One quick variation to know by name: knitting through the back loop, written ktbl, where you insert the needle into the back of the loop instead of the front. This twists the stitch, closing it tighter, and patterns use it on purpose for texture and certain decreases. It is not something you need on day one, but you will meet it eventually, and now it will not look like a typo.
Common mistakes and fixes
Nearly everyone hits these three early. Each has a clear fix once you can name it.
Yarn at the front instead of the back
The most common knit error is starting with the working yarn draped over the front, as if to purl. The knit stitch needs the yarn at the back. Yarn in front creates an accidental yarn over, an extra loop that shows up as a small hole and an extra stitch on the next row, which slowly widens your rectangle. Before each stitch, glance down and make sure the yarn is behind the work.
Inserting the needle the wrong way
If you push the right needle in from the wrong direction, the new stitch mounts backward, and on the next row it knits up twisted and tight. Insert from left to right into the front of the loop, with the right needle going behind the left. Stitches worked this way sit open and even.
Splitting the yarn
Most worsted yarn is several thin plies twisted together. If the needle tip catches only some of those plies instead of going cleanly under the whole loop, the stitch looks fuzzy and frayed. Aim the tip just under the strand, give a slightly looser grip, and let the needle find the gap rather than forcing it through the fibers.
Frequently asked questions
What is the knit stitch?
The knit stitch is one of the two basic stitches in knitting, and the one most beginners learn first. You work it with the yarn at the back, insert the right needle into the front of a stitch, wrap the yarn around, and pull a new loop through. Worked across rows, it builds a stretchy fabric.
How do you knit the knit stitch step by step?
With the yarn at the back, insert the right needle front to back into the first stitch so it sits behind the left needle. Wrap the yarn counterclockwise around the right tip, draw that loop through the old stitch toward you, then slip the old stitch off the left needle. That is one knit stitch.
What is garter stitch?
Garter stitch is the fabric you get by knitting every stitch of every row. It makes a reversible, squishy fabric of horizontal ridges that lies flat and does not curl. It is the easiest knitted fabric and the ideal first project, since it uses only the knit stitch and has no right or wrong side to track.
What is the difference between garter and stockinette stitch?
Garter stitch is knit on every row and gives a bumpy, ridged, reversible fabric that lies flat. Stockinette stitch is knit on the right-side rows and purled on the wrong-side rows, giving smooth columns of V shapes on the front and a bumpy back. Stockinette curls at the edges, while garter does not.
How do I tell a knit stitch from a purl stitch?
On the side facing you, a knit stitch shows as a smooth flat V sitting below the needle, and a purl shows as a small horizontal bump. Reading these marks lets you know whether you are on a knit or a purl row and catch a stitch worked the wrong way before it travels up the fabric.
Is the knit stitch the same in US and UK patterns?
Yes. The knit stitch has the same name and the same abbreviation, k, in both US and UK knitting. The terms differ in other places, for example binding off in the US is called casting off in the UK, but the knit stitch itself reads the same on either side of the Atlantic.