How to crochet a granny square, the classic way
A granny square is a small piece of crochet fabric worked in rounds from the center out, built almost entirely from little clusters of three double crochet with a chained gap at each corner. That one rule, corners get a double cluster and sides get single clusters, is the whole pattern. Learn how to crochet a granny square once and you can make it any size you like, in any color combination, with no chart to follow.
This is a complete tutorial for the classic granny square, written so you can work it stitch by stitch. By the end you will know how to make the center ring, work round 1, add round 2, repeat outward to any size, change colors cleanly, and finish the square so it sits flat. We will stay in US terms throughout, with one note for UK readers: a US double crochet (dc) is the same stitch a UK pattern calls a treble (tr). Everywhere below that says double crochet, a UK maker reads treble.
If crochet itself is brand new to you, start with what is crochet for the foundations, then come back here.
What a granny square is, and why it is the classic first motif
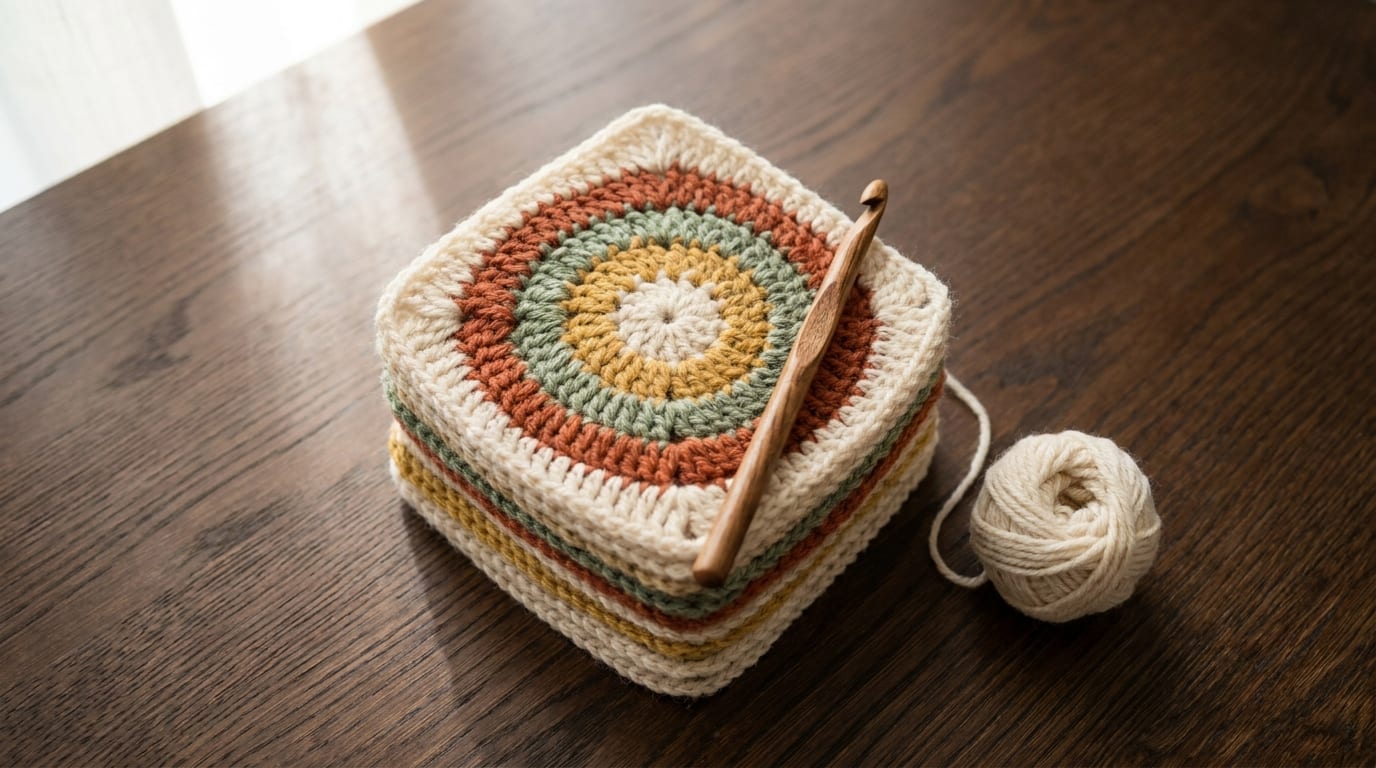
The granny square is the small motif that built a thousand 1970s blankets. It is worked in the round, growing outward one ring at a time, and every round is made of the same building block: a cluster of three double crochet. Between clusters you leave small gaps, a chain-2 space at each corner and a chain-1 space along each side. Those gaps are what give the square its open, lacy look and its signature grid of little holes.
It earns its place as a first motif for a few reasons. The stitch count never gets complicated, because you are not counting individual stitches so much as counting clusters and corners. It teaches you to work into spaces rather than into the tops of stitches, which is a skill almost every motif pattern uses. It finishes fast, often under an hour for a small square, so you see a real result before your patience runs out. And it scales: one square is a coaster, four joined squares make a cushion front, and a few dozen become a blanket.
You only need one stitch to make it. If the double crochet is new or rusty, the double crochet stitch walkthrough has step-by-step photos. Come back once it feels steady, because the granny square is just that stitch, repeated in a tidy pattern.
What you need
The supply list is short, and a granny square is a forgiving place to use up odd amounts of yarn.
- Worsted weight yarn, in one or more colors. A smooth, light-to-medium yarn shows the clusters clearly. Leftover yarn is perfect here, since each round of a small square uses very little.
- A US size H (5.0 mm) hook. This pairs cleanly with worsted weight and gives a square that holds its shape without being stiff. Match the hook to your yarn if you use something else.
- A yarn needle and scissors. The needle is for weaving in ends, which, with a multicolor granny square, is the real work. More on that later.
A stitch marker is optional. Some makers drop one into the beginning chain so they can find the start of the round again, but the corners make a granny square easy to read without one.
The center ring
Every granny square starts with a small ring at the center, and your first round of clusters works into the hole in the middle of it. There are two ways to make that ring.
The classic method is the simplest. Chain 4 (ch), then join with a slip stitch (sl st) into the first chain you made, which pulls the four chains into a small loop. That loop has a hole in the center, and you work round 1 into the hole, not into the individual chain stitches.
The alternative is the magic ring, an adjustable loop you can pull completely shut after the first round. It leaves no hole at the center, which some makers prefer for a tidier look. It takes a little more practice than the chain-4 ring, and the full step-by-step lives in the magic ring guide. For your very first granny square, the chain-4 ring is the easier start, so use that if you are unsure. The rounds that follow are identical either way.
Round 1: four corners, no sides
Round 1 sets up the four corners of the square. In the classic granny square, this first round has only corners, no side spaces yet. Work every stitch into the center of the ring.
- Chain 3. This counts as your first double crochet. (A double crochet stands roughly three chains tall, which is why the beginning chain is 3.)
- Work 2 double crochet into the ring. Together with the chain-3, you now have your first cluster of three double crochet.
- Chain 2. This makes the first corner space.
- Work 3 double crochet into the ring, then chain 2. That is the second cluster and the second corner.
- Repeat step 4 two more times. You will have worked [3 dc into the ring, ch 2] a total of three more times after the first cluster, giving you four clusters and four corner spaces in all.
- Join with a slip stitch to the top of the beginning chain-3. This closes the round into a square.
Look at your work. You should see four little groups of three double crochet, with a chain-2 corner space between each group, arranged in a square. There are no spaces along the sides yet, just the four corners. That is exactly right for round 1.
Round 2: corners get a double cluster, sides get one
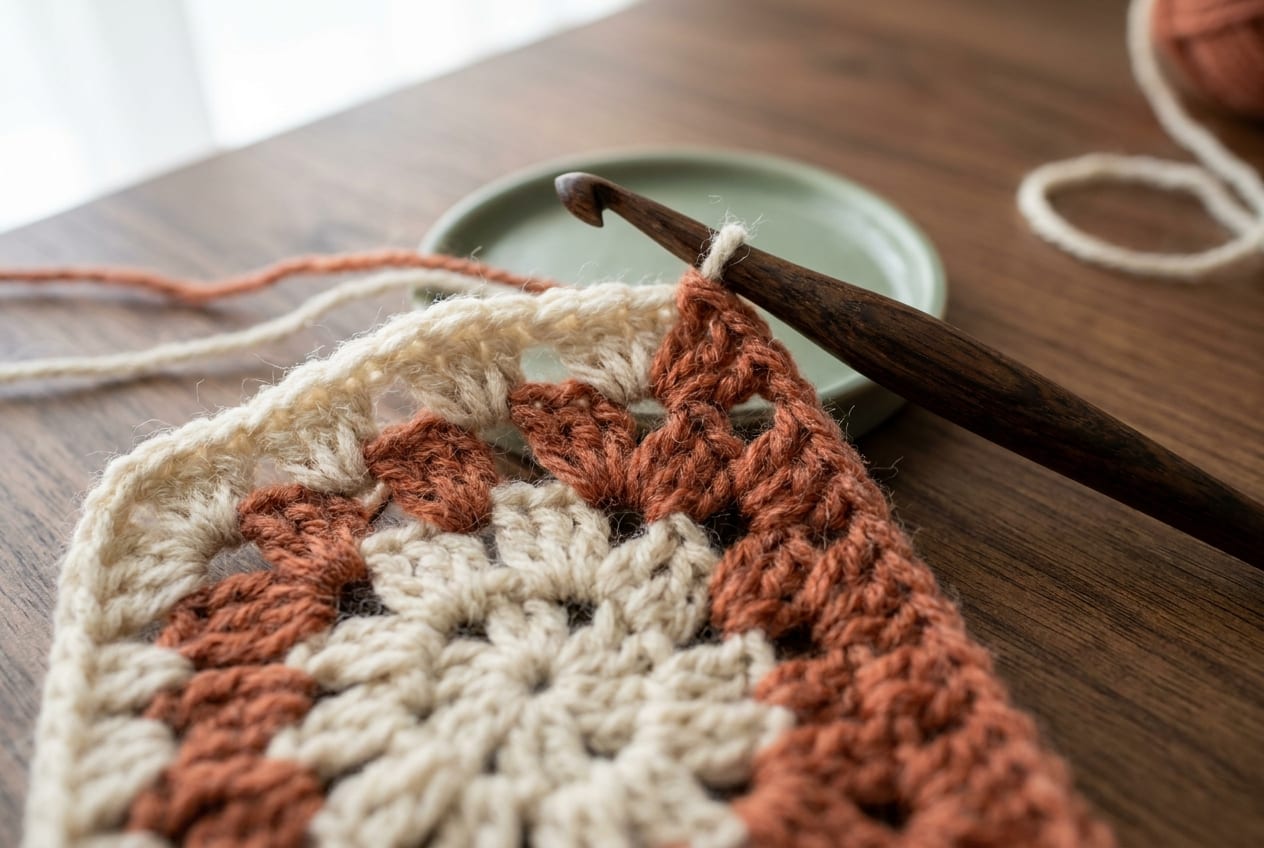
Round 2 is where the square starts to grow, and where you meet the rule you will use forever: corners get two clusters with a chain-2 between them, and each side gets a single cluster. From now on you work into the chain spaces of the round below, never into the tops of the double crochet.
- Slip stitch across into the first corner space. From where you joined, slip stitch along until your hook sits in the nearest chain-2 corner space. (If you prefer, pull up the loop on your hook to lengthen it and simply move over to a corner space without slip stitching. Either gets you to the corner.)
- In that corner space, work 3 double crochet, chain 2, then 3 double crochet. That double cluster with a chain-2 in the middle is what forms a corner from here on.
- Chain 1. This small chain bridges to the next corner and creates the side space.
- In the next corner space, work (3 dc, ch 2, 3 dc), then chain 1. Repeat this around all four corners.
- Join with a slip stitch to the top of the first cluster to close the round.
Now each corner has the double cluster with its chain-2 turning space, and each side has a single chain-1 space between the corners. The square is bigger, and the four corners are clearly square. Round 2 is the template for everything that follows.
Round 3 and beyond: one rule, repeated
Here is the entire rest of the pattern, and it never changes:
- In every corner space, work (3 dc, ch 2, 3 dc).
- In every chain-1 side space, work 3 dc.
- Chain 1 between every group.
- Join with a slip stitch at the end of the round.
That is it. Each new round adds one more three-double-crochet cluster to every side, because each round creates new chain-1 side spaces that the next round fills. So the square grows by one cluster per side, per round, in a steady, predictable way.
To work round 3: slip stitch to a corner space, work (3 dc, ch 2, 3 dc) into it, chain 1, then work 3 dc into the next chain-1 side space, chain 1, and continue around. When you reach the next corner, give it the full (3 dc, ch 2, 3 dc) again. Keep alternating corner clusters and side clusters, with a chain 1 between every group, all the way around, then join.
Round 4 and every round after follow the same logic. The only thing that changes is that each side has more chain-1 spaces to fill, so you work more side clusters per side as the square grows. Count is easy to keep: every corner is always (3 dc, ch 2, 3 dc), and every side space always gets exactly 3 dc.
Repeat to the size you want. A 4-round square comes out around 5 to 6 inches (13 to 15 cm) in worsted weight, which is a common size for joining into blankets. Want bigger? Keep adding rounds. The square just grows.
Changing colors
A granny square is the classic place to play with color, and you can make every round a different shade. There are two clean ways to switch.
The simplest is to fasten off at the end of a round, then join the new color. Fasten off by cutting the yarn a few inches from the hook, yarn over, and pull the cut end all the way through the loop on your hook to lock it. To join the new color, make a slip knot on your hook (or just place the new strand on the hook), insert into any corner space, and pull up a loop, then begin the next round with your chain-3 or chain-2 corner start. Joining in a corner space hides the join neatly.
The slightly tidier method is to change color on the last stitch of the round. When you work the final double crochet before the join, stop when you have two loops left on the hook, drop the old color, and pull the new color through those two loops to complete the stitch. Now the new color is live on your hook and you join and carry on. This leaves a smaller jog at the color change.
Either way, each color change adds two ends to weave in later, one from the old color and one from the new. That is worth knowing before you plan a ten-round rainbow.
Fastening off, weaving in ends, and blocking
When the square is the size you want, fasten off the same way as a color change: cut the yarn a few inches out, yarn over, and pull the tail completely through the last loop to lock it.
Now for the part that is the real work of granny squares: weaving in the ends. A multicolor square can leave you with a dozen tails or more. Thread each tail onto your yarn needle and weave it through the backs of the stitches in one direction, then turn and go back a different way so the friction holds it. Trim close once it grips. Do not skip this. Loose ends are what make a finished square look unfinished, and they are what come undone in the wash.
Last, block the square. Blocking means wetting the square, gently shaping it so all four corners sit square and the sides are straight, and pinning it flat to dry. It relaxes the stitches and turns a slightly wobbly square into a crisp one, which matters a lot when you join many squares edge to edge. Wool and cotton block beautifully. Acrylic does not hold a block as well, so steam it lightly and lay it flat instead.
Troubleshooting: ruffle versus cup
A granny square should lie flat. When it does not, the cause is almost always the corners, and the fix is almost always the same: keep every corner to exactly (3 dc, ch 2, 3 dc), no more and no less.
If the square ruffles, with wavy, lettuce-like edges that will not lie flat, you have too many stitches for the size. Usually that means an extra double crochet sneaked into a corner, or you added stitches into a side space that should hold only one cluster. Check that each corner has exactly two clusters and each side space has exactly one, and the ruffle settles.
If the square cups, curling up at the edges like a shallow bowl, you have too few stitches. The common cause is a corner that got only one cluster instead of two, or a missed side space. Count your clusters around one round; every corner needs the full (3 dc, ch 2, 3 dc).
Blocking can rescue a square that is only slightly off, but it cannot fix a real stitch-count error. If a square fights you, count the corners first.
What to make with granny squares
One square is just the beginning. Because they join edge to edge so easily, granny squares are the foundation of some of the most-made projects in crochet. Stitch a handful together and you have a cushion cover or a market bag; stitch dozens together and you have the classic granny square blanket.
For the blanket route, the granny square blanket guide covers how many squares you need, how to lay out colors, and the tidiest ways to join. For more ideas, the granny square patterns roundup gathers projects from beginner coasters to full throws, and the granny square pattern hub collects patterns you can open in the app and work round by round.
The square you just learned is the door to all of it. Make one, make four, and keep the rule in your head: corners get two clusters, sides get one, and everything stays flat.
Frequently asked questions
How do you crochet a granny square for beginners?
Start with a center ring: chain 4 and join with a slip stitch into the first chain. Round 1 is four clusters of three double crochet with a chain-2 corner space between each. From round 2 on, work (3 dc, ch 2, 3 dc) in every corner and 3 dc in every side space, with a chain 1 between groups. Repeat to the size you want.
What stitch is a granny square made of?
Almost entirely the double crochet (US), which a UK pattern calls a treble. A granny square is just clusters of three double crochet, grouped into corners and sides, with small chain spaces between them. If you can work a double crochet, you can make a granny square.
How big is a 4-round granny square?
In worsted weight yarn on a US size H (5.0 mm) hook, a granny square of four rounds comes out around 5 to 6 inches, or 13 to 15 cm, across. Size varies with your yarn and tension, so block the square and measure it if you are joining many to a set size.
Why is my granny square not flat?
It is a stitch-count problem at the corners. A square that ruffles has too many stitches, usually an extra cluster in a corner or side. A square that cups has too few, usually a corner that got one cluster instead of two. Keep every corner to exactly (3 dc, ch 2, 3 dc) and it will lie flat.
How do you change colors in a granny square?
Either fasten off at the end of a round and join the new color with a slip stitch into any corner space, or change color on the last stitch by pulling the new color through the final two loops. Both let each round be a new color. Each change adds two ends to weave in at the finish.
Do you turn your work when crocheting a granny square?
Not in the classic version. A traditional granny square is worked with the right side always facing you, joining each round and continuing in the same direction without turning. Some modern variations do turn each round to even out a slight slant, but the classic motif does not.