What makes a crochet rose
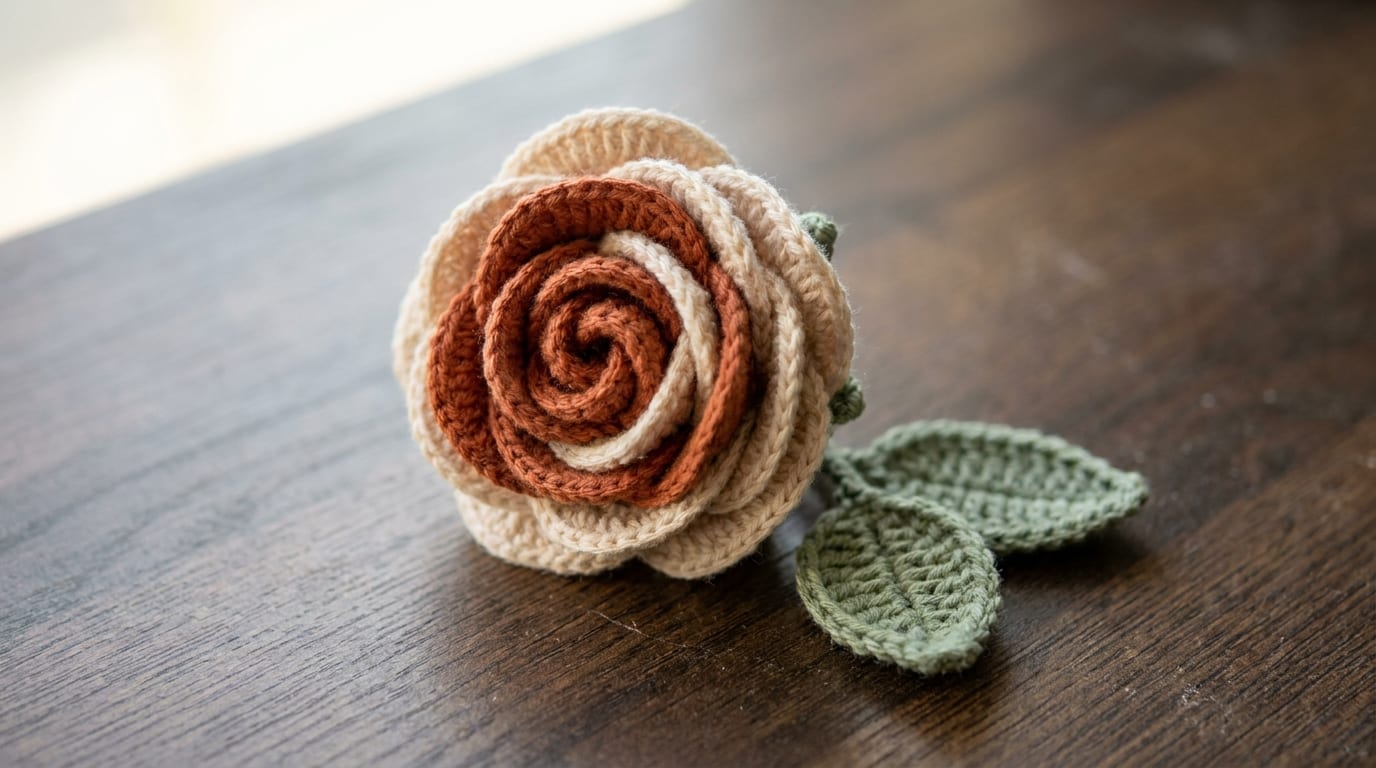
A crochet rose is a flower worked from yarn and a hook so that the petals spiral out from a tight center, the way the petals of a real rose furl around the bud. There are two reliable ways to make one. The first is a long flat strip of graduated petals that you roll into a coil, and it is the easiest and most popular method by a wide margin. The second builds petals in joined rounds for a rounder, fuller bloom. This crochet rose tutorial walks through both, with the coiled strip first because it is the one most people learn.
The shape works because of how the petals change size. Small petals sit at the center and read as the bud. Larger petals on the outside fall open and read as a flower in bloom. Get that gradation right and the rose almost arranges itself when you coil it.
By the end of this guide you will be able to crochet a rose two ways, coil and secure the strip so it holds its shape for years, and turn the finished flower into a brooch, an applique, or a stemmed bloom for a bouquet.
What you need
The supply list is short. A crochet rose uses a surprisingly small amount of yarn, so this is a good way to use up leftovers.
- Yarn. Cotton holds the rose shape well and gives crisp, defined petals that stay open. Worsted weight (UK Aran) is forgiving for a first rose; a lighter weight makes a smaller, daintier flower. Pick a rose color plus a green if you want leaves or a base.
- A hook. Match the hook to your yarn, or go down half a size from the ball band for tighter, firmer petals. A US size G (4.0 mm) or H (5.0 mm) suits worsted cotton.
- A yarn needle. This is the tool that locks the coil together at the base, so do not skip it.
- Scissors, and an optional stitch marker for the in-the-round version.
You only need one stitch for the coiled rose: the double crochet stitch, which is US double crochet (dc), the same as a UK treble. If you would like to see more flower shapes first, our guide to crochet flowers covers the wider family, and easy crochet flowers collects the simplest ones for a first try.
The coiled-strip rose, step by step
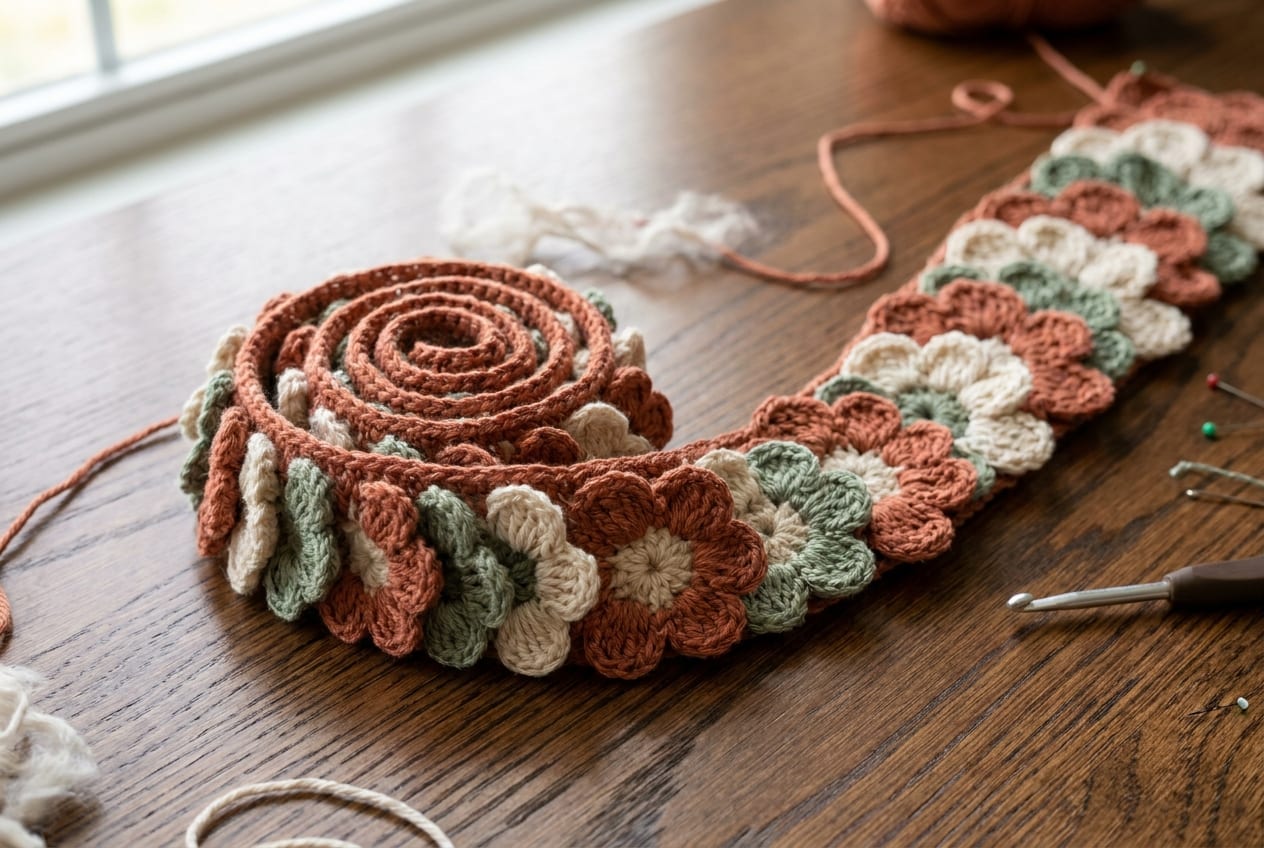
This is the classic crochet rose. You crochet one long flat strip of petals that grow from small to large, then roll it into a spiral and stitch the base. The strip looks nothing like a flower while you work it, which throws people off the first time. Trust it. The shape appears the moment you coil it.
The steps below use US terms. Take the first one slowly so your stitch count stays honest, because the gradation depends on it.
- Make the foundation chain. Chain about 50 for a medium rose. The length of this chain sets how many petals you get and how full the finished flower is, so chain more for a bigger bloom and fewer for a small one. Keep the chain relaxed, not tight, so you can work into it easily.
- Work the small petals first. Starting in the second or third chain from the hook, work the first few petals small. A common approach is to skip a chain or two, then work a short cluster of double crochet (around 3 to 4
dc) into the next chain or into a small group of chains, with a chain or slip stitch between clusters to separate the petals. These short clusters become the tight inner petals of the bud. - Grow the petals toward the other end. As you move along the chain, make each petal taller and fuller than the last. Work taller clusters with more stitches into each chain space, for example 5, then 6, then 7 double crochet grouped together, separated by a chain or two. The petals at the far end should be noticeably larger than the ones where you started. This graduation is the whole trick: small petals furl into the center, large petals fall open on the outside.
- Fasten off, leaving a long tail. Cut the yarn and pull it through, but leave a tail of at least 12 inches (30 cm). You will sew the coil together with this tail, so longer is safer than shorter.
If a petal comes out lumpy or uneven, do not unravel the whole strip. Once it is coiled, small irregularities disappear into the layers, and you can nudge any stitch into place with your fingers at the end.
Coiling and securing it
This is where the strip becomes a rose, and it takes about two minutes.
Start from the small-petal end. Roll the strip up into a tight spiral, winding the small inner petals around themselves first and adding the larger petals around the outside as you go. The key is to keep the bottom level: hold the straight base edge (the foundation-chain edge) flat and even at the bottom while the petals fan upward and outward. If the base stays level, the rose sits flat and the petals open the right way.
When the whole strip is coiled and you are happy with how it looks, hold the coil firmly at the base so it cannot spring loose. Thread the long tail onto your yarn needle and stitch straight through the base of the coil several times, passing from one side to the other and catching all the layers. Two or three passes in different directions lock the spiral so it never unravels. Pull each pass snug, then weave the tail into the underside and trim it.
With the base secured, shape the outer petals open with your fingers. Gently roll the top edges of the larger petals outward so they flare, the way an open rose does. The inner petals stay furled; the outer ones fall back. A few seconds of shaping is the difference between a stiff coil and a flower that looks like it bloomed.
The layered in-the-round rose
The coiled strip is fast, but if you want a rounder, fuller flower, work the rose in joined rounds instead. This method takes more steps and builds the petals outward in tiers, with each round of petals larger than the last and sitting behind it, so the finished rose has real depth from every angle.
The short version of how it works:
- Start with a magic ring and work a base round of stitches into it, then join. This center anchors every petal tier.
- Build the first tier of small petals into that base round. Each petal is a small cluster, often a few chains with double crochet worked into a stitch or space, then a slip stitch to anchor it before the next petal.
- Work the next round behind the first. Slip stitch into the back of the base round, between the first-tier petals, to create a new ring of anchor points set behind the front petals. Work a round of slightly larger petals into those points.
- Repeat, growing each tier. Each new round sits behind the last and uses taller, wider petals, so the flower opens outward in layers. Two or three tiers make a generous rose.
Because the petals are anchored round by round, this rose holds its shape without coiling or much sewing. It is worth trying once you are comfortable with the coiled version and want a fuller bloom for a corsage or a bouquet centerpiece.
Tips for shape and size
Small choices change the whole look of a crochet rose. A few that matter most:
- Cotton for crisp petals. Cotton holds the rose shape well and keeps the petals defined. Wool and acrylic work, but they are softer and the petals can flop. For brooches and anything that needs to look sharp, reach for cotton.
- Tight coil for a bud, loose coil for a bloom. A tighter coil reads as a closed bud, which is lovely in clusters. A looser coil opens into a full, blowzy bloom. You control this entirely by how snugly you roll the strip, so make a few and vary the tension.
- Chain length sets the size. A longer foundation chain gives more petals and a larger flower; a shorter chain gives a small one. Once you know your yarn, you can dial in a size just by changing the starting chain.
- Add a green base or sepals. For a calyx, work a few chain-and-slip-stitch points in green at the bottom of the rose: chain a few, slip stitch back down to make a small point, and repeat around the base. These green points peek out from under the petals like the sepals on a real rose.
What to make with your rose
A finished crochet rose is a building block, and it goes a long way.
- Appliques. Stitch a rose flat onto a bag, a hat, a cardigan, or a cushion. Sew through the secured base so the stitches hide underneath.
- Brooches and pins. Glue or sew a pin back to the underside and you have a brooch for a coat or a scarf. A small cluster of two or three roses in graduated sizes makes a striking corsage.
- Bouquets and stems. Attach the rose to a length of floral wire wrapped in green, add a couple of crochet leaves along the stem, and you have a bloom that never wilts. A jar of these makes a quiet, lasting gift.
- Embellishments. Smaller roses dress up headbands, gift wrap, garlands, and home decor.
When you want more flowers to pair with your rose, the flower pattern hub collects projects by type, so you can build a whole bouquet at your own pace.
Frequently asked questions
What is the easiest crochet rose for beginners?
The coiled-strip rose is the easiest crochet rose. You crochet one long flat strip of graduated petals using only double crochet, roll it into a spiral, and stitch the base to hold it. There are no rounds to track and no shaping to count, which makes it a forgiving first flower.
How much yarn does a crochet rose use?
Very little. A medium coiled crochet rose worked from a chain of about 50 uses well under one ounce of worsted cotton, often just a few yards. It is an ideal project for using up leftover yarn, and you can make several roses from a single small ball.
What yarn should I use for a crochet rose?
Cotton holds the rose shape well and gives crisp, defined petals that stay open, which makes it the top pick for roses. Worsted weight cotton is forgiving for a first rose, while a lighter cotton makes a smaller, daintier bloom. Wool and acrylic work too, but their softer petals tend to flop rather than hold a sharp edge.
How do I keep my crochet rose from unrolling?
Thread the long tail you left at fasten-off onto a yarn needle and stitch straight through the base of the coil several times, in two or three directions, catching all the layers. Pull each pass snug and weave the tail into the underside. A well-stitched base locks the spiral for good.
How do I make my crochet rose look more open?
Roll the strip into a looser coil for a fuller bloom, and after securing the base, gently roll the top edges of the larger outer petals outward with your fingers so they flare. The inner petals stay furled and the outer ones fall back, which gives the look of an open rose.
Can I crochet a rose with a stem?
Yes. Attach the finished rose to a length of floral wire wrapped in green yarn or floral tape, then add a couple of crochet leaves along the wire. A green base of chain-and-slip-stitch sepals at the bottom of the flower hides the join and makes the stemmed rose look complete.