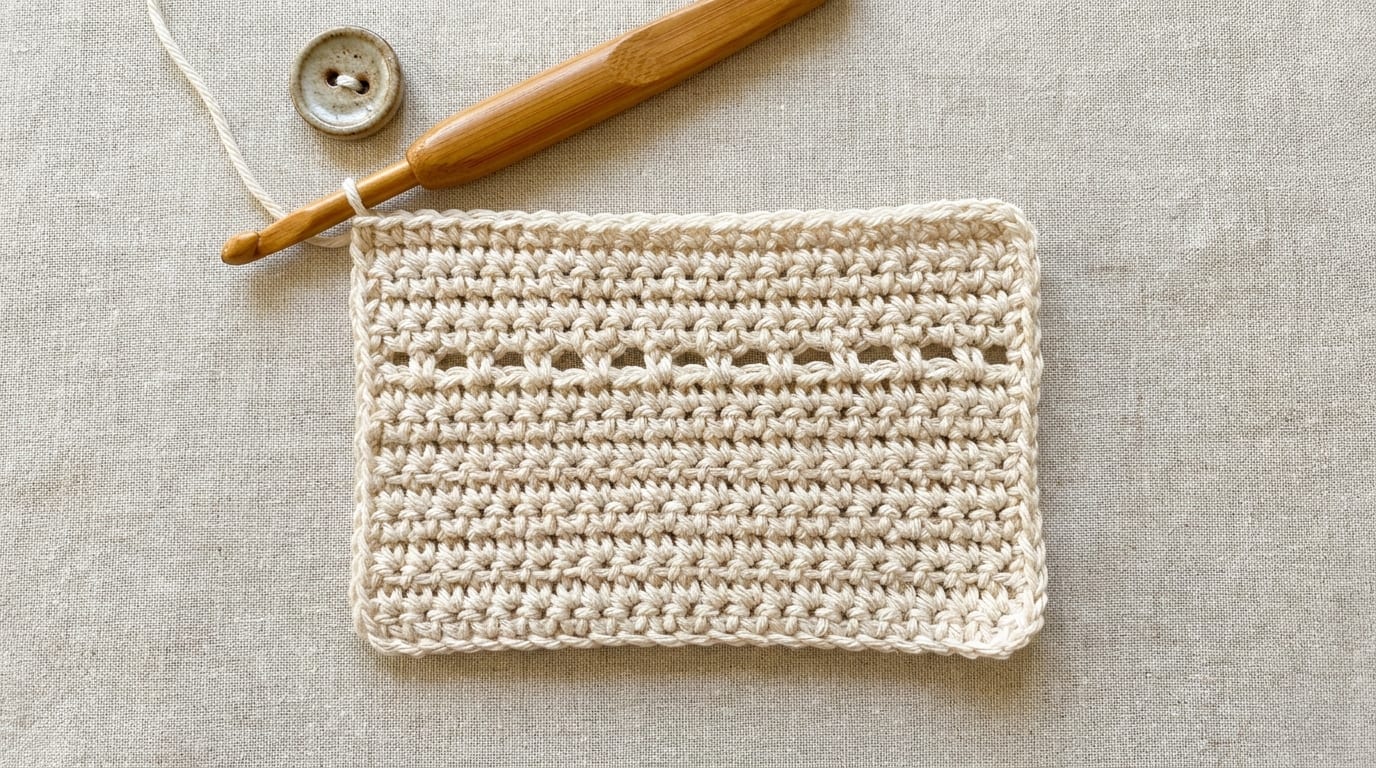
What the moss stitch looks like and why it works
The moss stitch produces a fabric that looks almost woven. If you set a finished piece on a table and step back a couple of feet, it could pass for a loosely woven textile rather than something made with a hook.
It does this through a simple alternation. Each row places a single crochet and a chain 1 in a repeating sequence. The trick is that the single crochets do not go into the stitches of the row below. They go into the chain spaces. This offset creates a structure where the stitches and spaces interlock across rows rather than stacking directly.
The fabric that comes out is denser than most lacework, has gentle visible columns and rows, and lies flat without much curling. It is also reversible, which makes it useful for scarves, dishcloths, and anything where both sides will be seen.
The moss stitch goes by several names. You will see it called the linen stitch, the granite stitch, and sometimes the woven stitch. All of these refer to the same construction.
Abbreviations for this post
- ch — chain
- sc — single crochet
- sp — space
- ch-sp — chain space (the gap left by a ch-1)
- RS — right side
- WS — wrong side
Setting up the foundation chain
The moss stitch needs an odd number of foundation chains.
Choose how wide you want your piece. For a practice swatch, chain 21. The math works like this: each stitch repeat takes 2 chains (one for the sc, one for the ch-1 space). The extra chain at the end gives you the turning chain. So any odd chain number works: 13, 21, 27, and so on.
Foundation Row (Row 1, RS):
- Ch 21 (or any odd number).
- Sc in 2nd ch from hook.
- Ch 1. Skip 1 ch. Sc in next ch.
- Repeat step 3 across until you reach the last ch.
- Sc in last ch. Turn.
At the end of Row 1 you have a series of single crochets separated by chain spaces, with a sc at each end. Count your sc: you should have 11 for a chain of 21.
Working the rows
From Row 2 onward the pattern is consistent. The key change from Row 1 is that instead of working into the foundation chain, you work each sc into a chain space.
Row 2 (WS):
- Ch 1. Turn.
- Sc in first ch-sp.
- Ch 1. Sc in next ch-sp.
- Repeat ch-1, sc in ch-sp across.
- After the last ch-sp, work sc into the turning ch from the row below. Turn.
That last sc into the turning ch keeps your edge neat. Without it, the right edge of your work will gradually shrink.
Row 3 (RS): Same as Row 2. Ch 1. Turn. Sc in first ch-sp. [Ch 1, sc in next ch-sp] across. Sc into the turning ch. Turn.
Repeat Row 2 and Row 3 (which are identical) until your piece reaches the desired length. Fasten off and weave in your ends.
Even vs odd row alignment
One thing you will notice after a few rows is that the stitch columns appear slightly offset between every two rows. This is intentional and correct.
On right-side rows, the sc stitches sit above the chain spaces of the row below. On wrong-side rows when you flip the work, the same thing happens from the other direction. The result is an interlocking grid where no two sc are directly stacked.
This offset is what creates the woven appearance. If you accidentally place a sc into a sc instead of a ch-sp, the stitch will sit directly on top of the one below and the grid alignment will shift. The fabric will still work up, but the woven look will be interrupted at that point.
Tension in the moss stitch
Tension matters more in the moss stitch than in many other patterns because the chain spaces need to be consistent in size. If some chain spaces are tight and others loose, the grid will look uneven.
Work the ch-1 with the same pull you use for your sc. Some people naturally tighten when chaining between stitches. If your rows are coming out narrower than your foundation row, your ch-1 is probably too tight. Try going up half a hook size, or consciously relax after each chain.
Blocking helps significantly. Wet blocking a finished moss stitch piece opens up the grid and evens out minor tension inconsistencies across the fabric.
Project ideas for the moss stitch
Dishcloths are the most common first moss stitch project, and for good reason. A 20 x 20 cm square in cotton works up in an hour or two and immediately shows you how the finished fabric looks and feels. Cotton adds a slight texture to the woven grid that makes it particularly effective for scrubbing.
Market bags in cotton or jute-blend yarn work well in the moss stitch because the semi-open structure stretches to hold items without being floppy. Chain a rectangle and join the sides, or work in the round for a seamless bag.
Scarves have a refined look in the moss stitch that reads more like a woven textile than typical crochet. A long narrow scarf in a neutral wool or wool-blend is a good project once you are comfortable with the row pattern.
Placemats and coasters benefit from the flat, non-curling quality of the stitch. In cotton with a slightly tighter gauge, the placemats are sturdy and washable.
Slouchy hats worked in the round in a smooth DK-weight yarn have a modern, minimalist look. Working in the round changes the row structure slightly because you no longer need to turn, but the sc-ch-sp pattern stays the same.
Yarn choices
Smooth yarns show the moss stitch at its best. Textured or fluffy fibers obscure the grid and make the woven look harder to see.
Cotton is the top choice for items that will be washed frequently. It gives excellent stitch definition and softens with repeated washing.
Wool in a smooth twist works beautifully for scarves and hats. The elasticity makes tension easier to manage.
Linen and linen blends add a slight sheen and a drape that suits bags and lightweight summer accessories.
For a full reference on this stitch, visit the moss stitch page. To see how it compares to other crochet textures, browse the crochet stitches library.
The moss stitch is one of the most satisfying stitches to learn because the woven fabric appears quickly and looks much more complex than it is. Once you are comfortable finding the chain spaces on each row, the stitch settles into a meditative rhythm.