The two ways to hold a crochet hook
When you pick up a crochet hook for the first time, two grips come up in almost every tutorial: the knife grip and the pencil grip. They look different, but both do the same job. The goal is simply to move the hook smoothly while keeping your hand relaxed enough to work for more than a few minutes without tension building in your wrist or fingers.
Before you worry about which grip is correct, know this: neither one is. The right grip is whichever one lets you crochet without pain.
The knife grip
The knife grip is the most common hold among beginners, and the name describes it well. You hold the hook the way you would hold a dinner knife: handle resting in the palm, four fingers wrapped around it, thumb resting on the flat thumb rest on the front of the hook.
Your wrist faces slightly downward and the hook points upward and away from you. The hook sits deep in your hand rather than being pinched between your fingertips.
Most beginners find this grip more comfortable for long sessions because the hook's weight is supported by the whole hand rather than two fingers. If you have never held a crochet hook before, start here.
The pencil grip
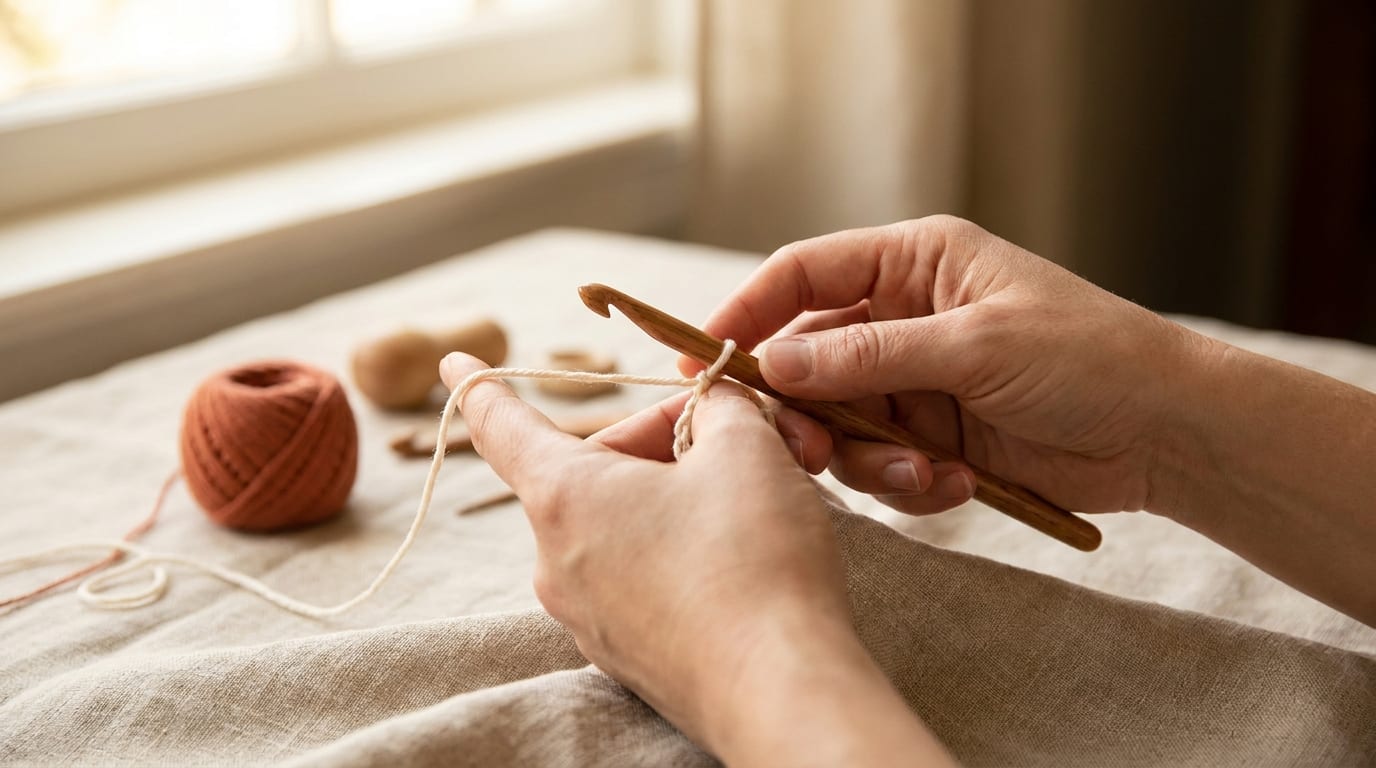
The pencil grip places the hook between your thumb and index finger, resting on the middle finger, exactly like holding a pen or pencil. Your hand sits higher on the hook and your fingertips do more of the guiding work.
Some crocheters prefer this grip because it feels more precise, especially for fine thread work or when changing direction quickly. Others find that the pinching motion tires their thumb and index finger faster than the knife grip does.
If you have a repetitive strain injury, arthritis in your fingers, or find that the knife grip strains your wrist, the pencil grip is worth trying. The different angle can redistribute the load across different joints.
Which grip should you use?
Use whichever grip lets you crochet for fifteen minutes without your hand tiring or hurting. That is the full answer.
Many tutorials will tell you the knife grip is better. Many experienced crocheters will tell you the pencil grip is better. In practice, people switch grips mid-project, use a hybrid of both, or land somewhere in between. Your hands will find their natural position after a few sessions of practice, and that position is probably the right one for you.
How to hold your hook if you have an ergonomic handle
Ergonomic hooks have wide, soft rubber or foam handles designed to reduce grip fatigue. With these hooks, the knife grip usually works best because the wide grip is made to sit in the palm. If you find standard metal hooks uncomfortable after longer sessions, an ergonomic handle is an easy upgrade that does not require changing your technique.
How to hold the yarn
The hook grip gets all the attention, but how you hold the yarn matters just as much. Yarn tension, how tightly or loosely you control the flow of yarn into each stitch, determines whether your fabric turns out even or lumpy. Your non-dominant hand does most of this work.
Here is the standard starting position:
- Hold the base of your slip knot between the thumb and middle finger of your non-dominant hand.
- Let the working yarn (the strand coming from your ball) drape over your index finger.
- Guide the yarn under your middle and ring fingers.
- Loop the yarn once over or around your pinky finger.
Your index finger now lifts to meet the hook on each stitch, feeding just enough yarn for one loop. Your pinky creates the drag that keeps the yarn from slipping through too freely.
Wrist position and why tensing up causes pain
When you are concentrating on learning a new technique, it is easy to tighten everything up without noticing. Your grip gets firmer, your wrist locks, and your shoulders creep toward your ears. After twenty minutes, your hand hurts and you are not sure why.
The fix is simple, though it takes some practice to maintain: keep your grip soft. The hook should be held firmly enough that it does not wobble, but loosely enough that a friend could pull it gently from your fingers without much resistance. Your wrist should be able to rotate slightly with each stitch rather than staying rigid.
Take a break every twenty to thirty minutes. Set the hook down, open and close your fingers a few times, and rotate your wrists. Crochet is a repetitive motion, and those small pauses make a real difference in how long you can work comfortably.
Left-handed crocheting
Left-handed crochet is a direct mirror image of right-handed crochet. The hook goes in your left hand, the yarn is tensioned in your right hand, and every movement is reversed. The finished fabric looks identical, and patterns do not need to be modified because the direction of individual stitches does not affect the final piece.
If you are left-handed, look specifically for left-handed crochet video tutorials. Watching a right-handed demonstration and trying to mentally mirror it is harder than it sounds. Left-handed instructors are easy to find online and will make the learning curve much gentler.
Putting it all together: your first chain stitches
Once your hook is in your dominant hand and your yarn is tensioned in your non-dominant hand, you are ready to practice. Work through the steps below at whatever pace feels comfortable. The chain stitch is the simplest stitch in crochet, and it is the best one for training your hands to move together.
You will find the full step-by-step sequence in the HowTo section of this page. After twenty or thirty chain stitches, most beginners notice their hands starting to find a rhythm. That rhythm is what the rest of crochet is built on.
Once the chain stitch feels manageable, the natural next step is single crochet. Our guide to crochet for beginners walks you through the first stitches and your first project in the same calm, unhurried format. And if you find your stitches are coming out uneven even after your grip feels settled, the most likely cause is tension. Read our crochet tension tips for practical ways to get consistent stitches.